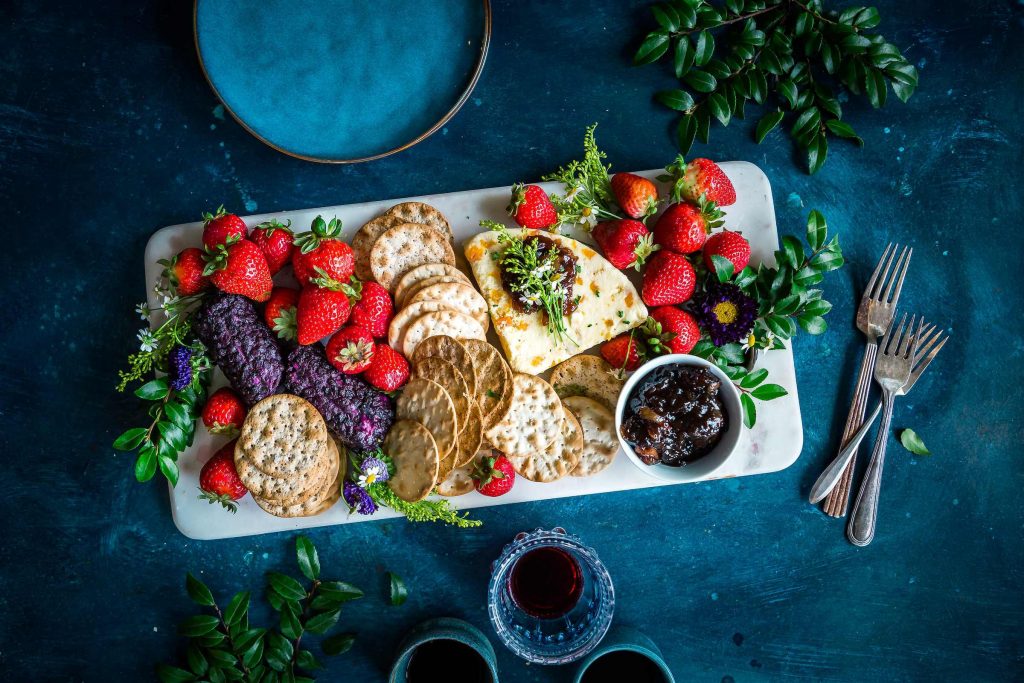
Photo by Brooke Lark on Unsplash
Photography is a complex art form that takes years of practice to perfect. But, like any art form, the basics of photography can be learned relatively easily. And once you have a firm understanding of the basics, you can begin to experiment and find your own unique style. If you’re interested in becoming a food photographer, this blog post is for you. Read on to learn the basics of food photography, and get started on your journey to becoming a master of the craft.
What is Food Photography?
At its core, food photography is exactly what it sounds like: photography that focuses on food. But there’s more to it than that. Good food photography should make the viewer hungry. It should make them crave the dish pictured, even if they’ve never had it before. To achieve this, food photographers must be masters of light, composition, camera settings and styling.
Food photography can be a challenge, as you want to make sure that the food looks good but also captures the essence of the dish.
Here are a few tips for taking great food photos:
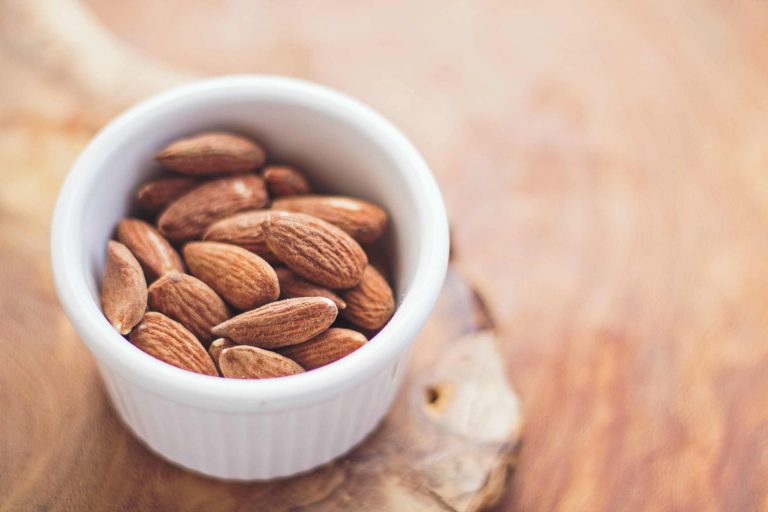
Photo by Juan José Valencia Antía on Unsplash
1. Composition is a key element of good food photography.
When composing your shots, think about how you want the viewer to experience the image. Do you want them to focus on a particular element of the dish? Or do you want them to see the whole thing in all its glory? Regardless of what you’re shooting, keep the rule of thirds in mind. This rule states that an image is most pleasing to the eye when its subject matter is placed along one of the lines that divide the image into thirds—both horizontally and vertically.
2. Use natural light whenever possible.
Lighting is one of the most important aspects of good food photography. The right lighting can make all the difference between a photo that looks appetizing and one that looks uninviting. When shooting indoors, natural light is always best. If possible, set up your shot near a window, and use a reflector to bounce light back onto the subject. This will help create evenly-lit photos that are sure to make your mouth water.
Artificial light can create an unflattering, orange-tinted glow. However, depending on the type of photo being taken—such as for advertising purposes—artificial lighting may be necessary.
For example, for close-up shots of individual ingredients or dishes that require additional definition and texture detail, overhead lights may be used. Additionally, bouncing flash off walls can help soften shadows in certain areas.
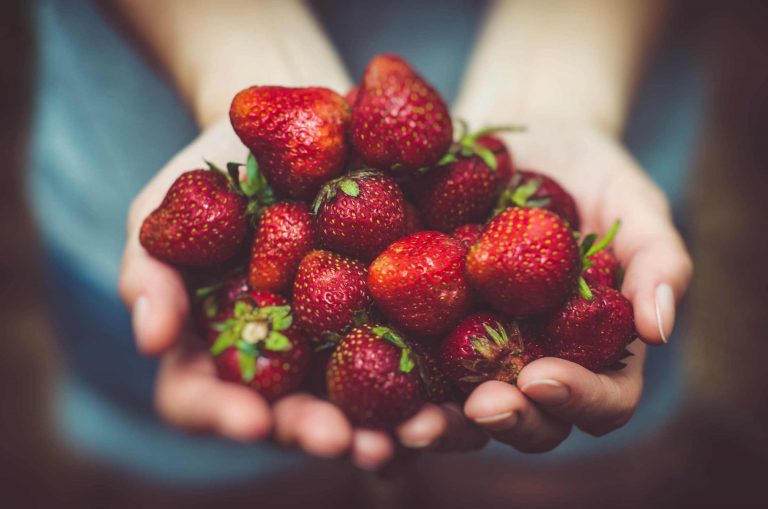
Photo by Artur Rutkowski on Unsplash
3. Keep your ISO low for clear, detailed images.
Higher ISOs will result in grainy images due to increased noise. ISO is the digital camera sensor’s sensitivity to light. The higher the ISO number, the more sensitive the sensor is, and the less light is needed to capture a photograph. This can be helpful in low-light situations, but it can also cause images to appear grainy or noisy. For food photography, it’s best to keep your ISO low to avoid getting unwanted noise in your images.
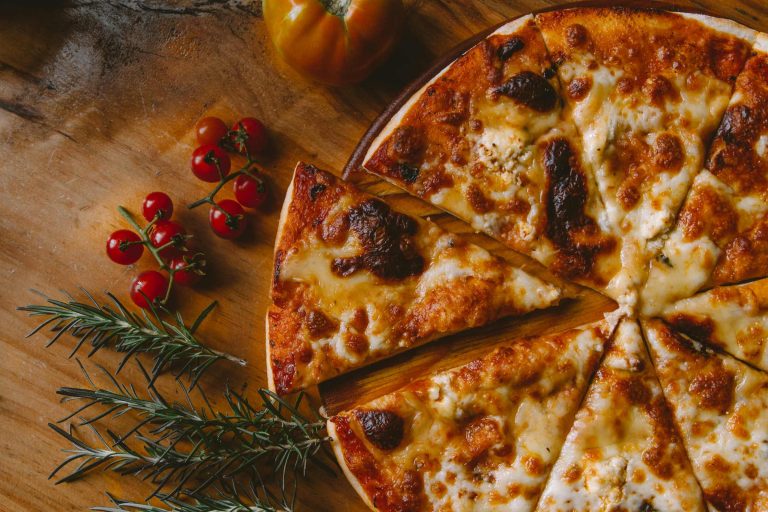
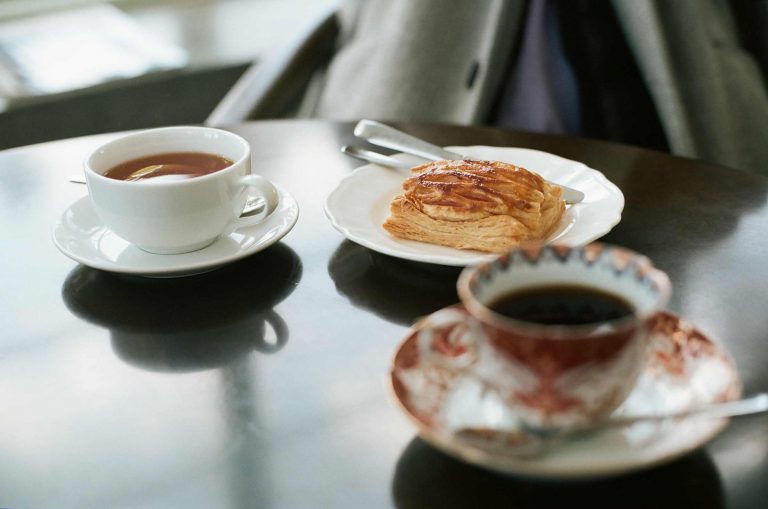
Photo by Ivan Torres on Unsplash
4. Experiment with different angles and perspectives.
Taking photos of food from various angles can make the dish look more interesting and appetizing than if you just shot it straight on. You may want to experiment with different camera heights or even shooting from above for an overhead view of the dish. Additionally, props like plates, utensils, herbs, fruits, vegetables and other elements can add depth and interest to your shots.
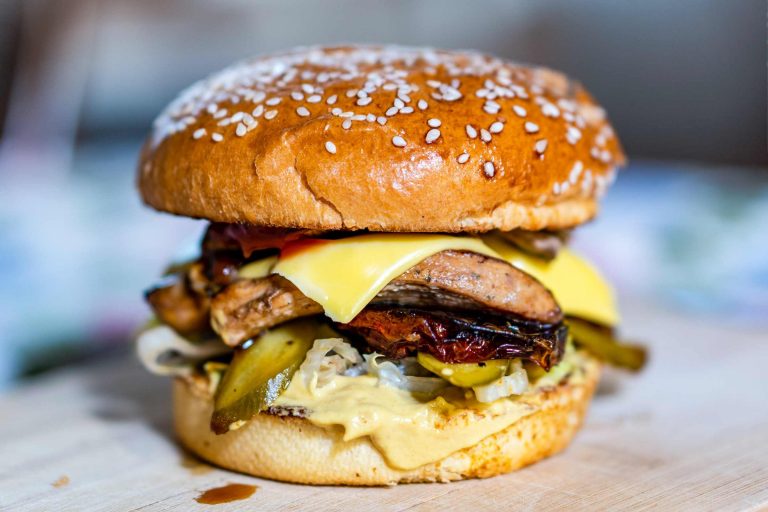
Photo by amirali mirhashemian on Unsplash
5. Use a shallow depth of field for close-up shots.
When taking close-up shots of individual ingredients or dishes, use a shallow depth of field to make them stand out from the background. This helps draw the viewer’s eye to the primary subject and creates an attractive image. To achieve this effect, use a wide aperture setting and make sure that the subject is in focus while the background remains blurred.
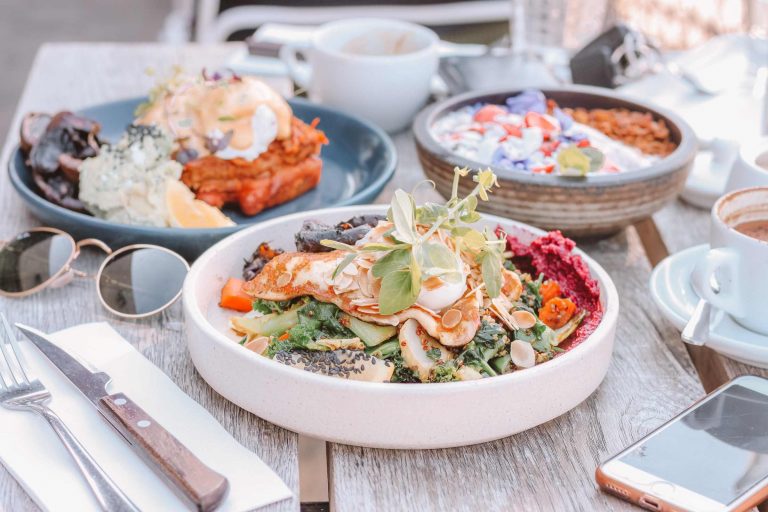
Photo by Maddi Bazzocco on Unsplash
6. Use props and backdrops to enhance your photos.
Use props to add interest and context to your photo. Props like plates and utensils, as well as colorful backdrops or textures, can add visual interest to a photo of food. Consider setting up a flat lay of all the ingredients used in creating the dish or arranging them on a plate against an attractive backdrop for extra impact.
For example, if you’re photographing a bowl of fruit, you might include a spoon or a knife to give the viewer an idea of scale. Additionally, a scattering of herbs or flowers can add life and vibrancy to the photo.
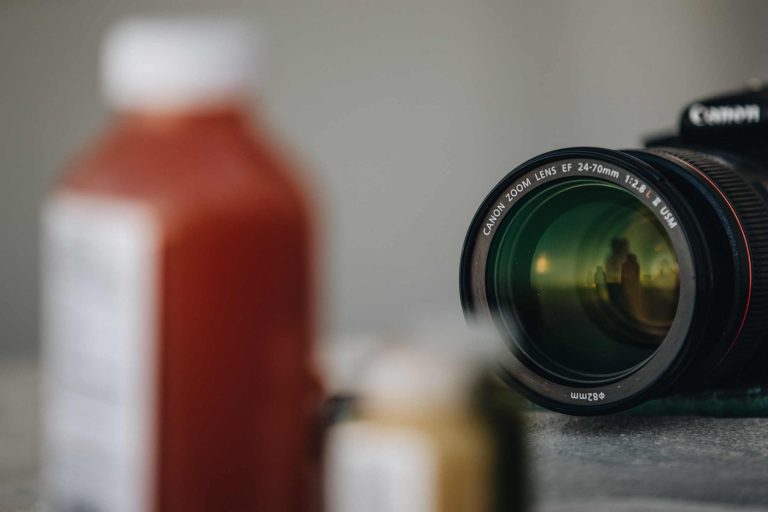
Photo by Nathan Dumlao on Unsplash
7. Use a good camera lens.
This will help you capture all the details of the food in your photo. A zoom lens can be helpful for getting close-ups of individual ingredients, while a wide-angle lens can be used to capture the overall scene. Additionally, a macro lens can be used to get extreme close-ups with great depth of field.
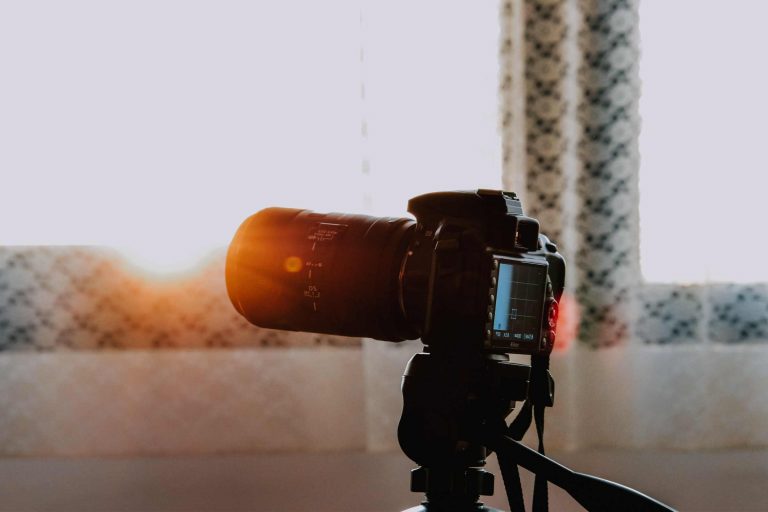
8. Use a tripod for stability.
This will help you get the best shot possible and minimize camera shake. If you’re looking to take food photos in low light or evening conditions, a tripod can be very useful for stability. This will help you avoid blurry photos from camera shake, and will also allow you to use slower shutter speeds for creative effects.
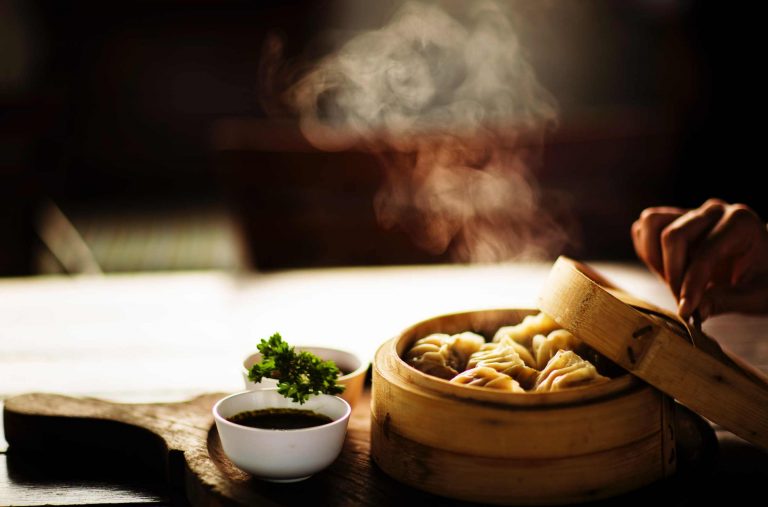
Photo by Pooja Chaudhary on Unsplash
9. Employ creative techniques to make the food look more appetizing.
Try adding condensation to cold dishes by spraying them with water prior to taking the shot, or use steam and smoke effects for hot dishes. Additionally, you can use backlighting or flash diffusers to add drama and interest to your photos.
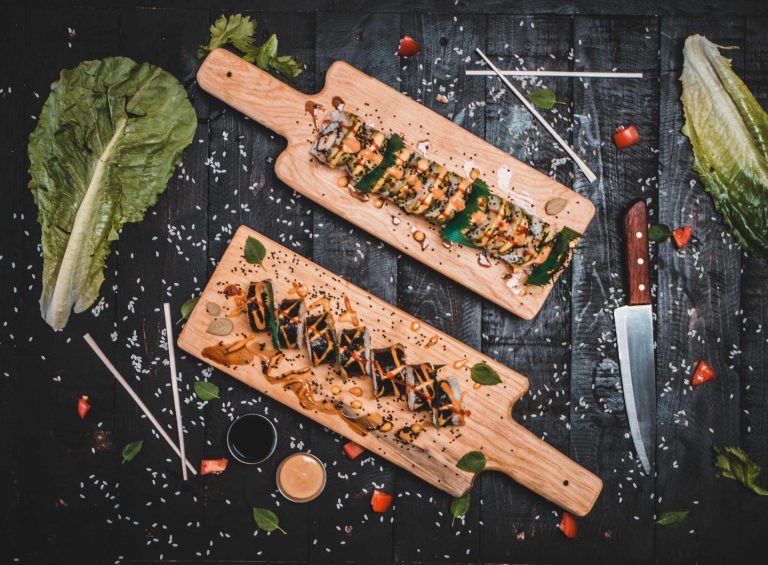
Photo by Daniel Apodaca on Unsplash
10. Get creative with your food styling!
No matter how good your lighting and composition are, if your food doesn’t look appetizing, your photos won’t be effective. This is where styling comes in. Accentuate the colors, textures, and shapes of the ingredients to create an aesthetically pleasing photo. Experiment with different arrangements and try to make the food look as inviting as possible.
The way you style a dish can make all the difference in how it’s received by viewers. When styling food for photography, less is almost always more. Keep your props simple, and let the food be the star of the show. After all, that’s what people are really looking at when they see your photos—the food itself!

Photo by Szabo Viktor on Unsplash
11. Edit your photos for the best results.
Use an editing program such as Adobe Lightroom or Photoshop to enhance colors, adjust contrast and brightness, crop images, and more. This will help you create the most attractive image possible before releasing it into the world.
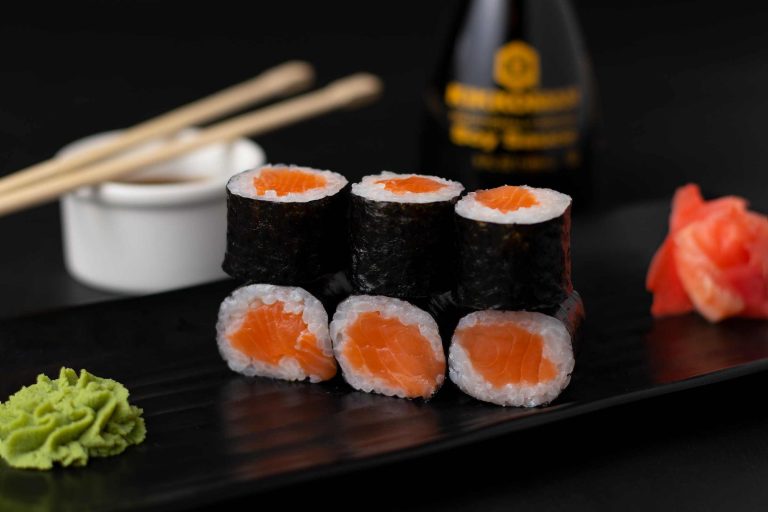
Photo by Mahmoud Fawzy on Unsplash
12. Have patience.
Taking food photos can be time-consuming, as there are several factors—such as lighting, styling and camera settings—that need to be taken into consideration. Additionally, it may take multiple takes in order to capture the perfect shot. So don’t rush it!
Conclusion:
Take your time and experiment with different angles and perspectives until you get the desired result. With enough practice, you’ll get better at capturing beautiful food photography
Following these tips can help you take beautiful photos that capture the essence of your culinary creations. With practice, patience, and experimentation, you’ll be taking delicious-looking food photos in no time!
Happy shooting!
Good luck!